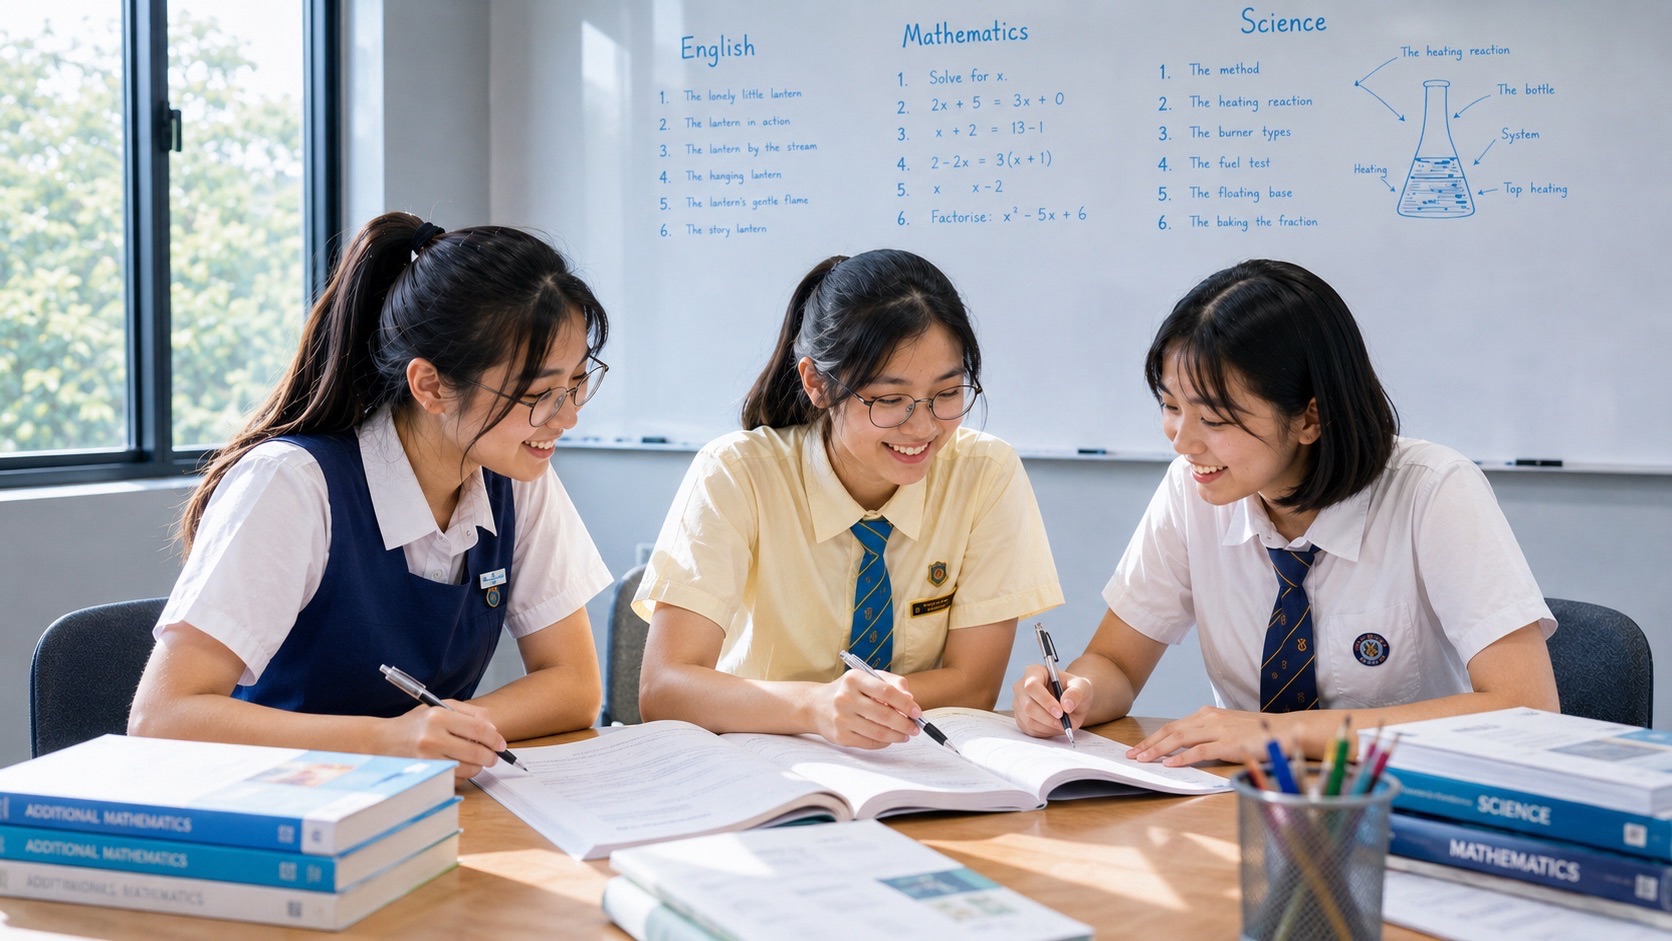
A Bukit Timah tutor for Secondary 1 Mathematics should help a student read a diagram accurately, choose the quantity being measured and explain why each calculation is valid. When a child knows formulae but loses marks on angles, composite figures or units, begin with the first decision in the working. A three-student tutorial can give each learner time to draw, reason, calculate and check an answer independently.
This geometry and measurement guide shows parents how to identify those difficulties through original examples, answer corrections and practical questions for a tutor. Match the work to your child’s actual G1, G2 or G3 Mathematics programme and the school’s current topic sequence. Bring a marked assignment when enquiring about support, and confirm the present group, teacher, venue, timetable and fees before making a commitment.
- Start with evidence: preserve the child’s first diagram and working before offering a correction.
- Geometry: use stated properties and markings to justify angle relationships.
- Measurement: decide whether the question concerns a boundary, a surface or a volume.
- Units: convert lengths consistently and distinguish square units from cubic units.
- Worked examples: explore a notched display panel, perpendicular heights, open boxes and joined solids.
- Curriculum fit: use the school’s subject level and teaching plan; these examples are a menu, not a universal term checklist.
- Progress: look for a fresh problem completed without a supplied first step.
eduKate Singapore · Secondary 1 · Mathematics geometry and measurement
Find your next learning step
Start with the part of the task your child finds difficult, or read through the worked examples in order.
In this guide
Read the geometry · Chapters 1–4
Choose the measure · Chapters 5–8
Check the model · Chapters 9–11
Try and explain · Chapters 12–13
Choose support · Chapters 14–15
CHAPTER 1 OF 15 · Read the geometry
1. Match the lesson to the child's current Mathematics programme
The immediate question is which geometry or measurement task the student is learning now. MOE publishes a G1 Mathematics syllabus and G2 and G3 Mathematics syllabuses. They include geometry and measurement with different scope. A lesson should respect that scope while repairing any prerequisite the student needs.
Schools also publish their own teaching sequences. For example, Yishun Secondary School’s Mathematics content outlines provide separate Secondary 1 plans for the three subject levels. That is a useful illustration of why a tutor should ask for the child’s current plan. Another school’s calendar should not become your child’s assumed timetable.
Under Full Subject-Based Banding, a Posting Group and the subject level taken for Mathematics serve different purposes. Tell the tutor the actual Mathematics level. If the family is considering a subject-level change, seek the school’s advice; a tuition worksheet cannot determine eligibility.
Secondary 1 school assessment is not a national SEAB Mathematics examination. SEAB’s Secondary Education Certificate information concerns the graduating examination introduced from 2027. Keep that later context separate from this term’s test instructions. This guide develops reasoning through selected tasks, with polygon and solid extensions used only when appropriate.
For the wider curriculum, use the Secondary 1 Mathematics syllabus guide. Here the focus is what happens between seeing a figure and producing a justified answer.
CHAPTER 2 OF 15 · Read the geometry
2. Separate what a diagram states from what it suggests
Begin a geometry question by making a short inventory. Which lengths are labelled? Which angles are marked? Are any sides stated to be equal or parallel? Is a right angle actually shown? A sketch helps us see a situation, but its appearance alone may not supply the relationships needed for a calculation.
Consider triangle ABC. The question states that AB = AC and that angle BAC is 44 degrees. The equal sides make the opposite base angles equal. The remaining angle total is 180 − 44 = 136 degrees, so angles ABC and ACB are each 68 degrees. The reason for equality is the given side relationship, even if the printed sketch looks slightly uneven.
Now remove the statement AB = AC. Knowing only the 44-degree angle gives a combined total of 136 degrees for the other two angles. It does not establish that each is 68 degrees. One could be 60 degrees and the other 76 degrees. Asking what changed tests whether the student understands the condition behind the method.
A parent can use three columns on scrap paper: given facts, deductions and information still needed. Put AB = AC under given facts, equal base angles under deductions and the eventual values beside their calculations. When the equality condition disappears, the student should move the individual base angles into the information-still-needed column.
This is particularly useful for a child who gets familiar diagrams right but struggles when they are rotated. Turn the page and ask which facts survive. The shape’s orientation changes; the labels and mathematical relationships do not. A successful explanation should still work when the triangle points in another direction.
For additional topic practice, the existing Sec 1 angles and polygons guide develops the underlying angle relationships. Use it after identifying which relationship the child is overlooking.
CHAPTER 3 OF 15 · Read the geometry
3. Build an angle argument one justified step at a time
A crowded diagram becomes more manageable when the learner solves one local relationship before looking for the final angle. Suppose A, B and D lie on one straight line, with B between A and D. A triangle ABC has angle CBD = 124 degrees and angle BAC = 37 degrees. The required angle is ACB.
First, ABC and CBD are adjacent angles on the straight line ABD. Therefore angle ABC = 180 − 124 = 56 degrees. Next use the triangle angle sum: angle ACB = 180 − 56 − 37 = 87 degrees. The two calculations use different facts, and both should be visible in the working.
A student might instead subtract 124 and 37 directly from 180 and obtain 19 degrees. The arithmetic is correct for that expression, but 124 degrees is outside the triangle. Ask the learner to shade or point to the three interior angles before calculating. This repairs the selection of angles rather than treating the answer as a random arithmetic slip.
There is also a shorter argument once the exterior-angle relationship has been taught: 124 = 37 + angle ACB, giving 87 degrees. The longer route explains where that relationship comes from. A tutor can accept either valid method while ensuring the student understands the quantities in it.
For parallel-line problems, require the condition as part of the explanation. Corresponding angles are equal when the lines are parallel; interior angles on the same side of a transversal then sum to 180 degrees. A student who only remembers a familiar letter shape may apply the rule to non-parallel lines.
Try a verbal check: two parallel lines are crossed by a transversal, and one interior angle is 71 degrees. Its alternate interior partner is 71 degrees; its same-side interior partner is 109 degrees. Ask the student to sketch and label the two relationships separately. Naming which partner is required prevents “parallel lines means equal” from becoming an overgeneral rule.
CHAPTER 4 OF 15 · Read the geometry
4. Check the extra condition behind a polygon calculation
Polygon work is appropriate when it appears in the child’s programme. The key distinction is between a total that belongs to the whole figure and a value that belongs to one angle. For a convex polygon with n sides, the interior-angle total is (n − 2) × 180 degrees. Dividing that total equally among the angles requires additional information.
Take a pentagon. Its interior angles total 540 degrees. If it is regular, all five interior angles are equal, so each is 108 degrees. If it is an irregular pentagon, the same total does not force every angle to be 108 degrees. The word “regular” is doing essential mathematical work.
Here is an original check. An irregular pentagon has four interior angles of 90, 100, 110 and 120 degrees. Their total is 420 degrees, leaving 120 degrees for the fifth. Dividing 540 by five would answer a different question. Ask the learner to explain why two angles can be equal without making the whole polygon regular.
For a regular polygon, one exterior turning angle at each vertex is 360 divided by the number of sides. A regular decagon therefore has a 36-degree exterior angle and a 144-degree interior angle. Their sum is 180 degrees because they are adjacent on a straight line at that vertex.
To test understanding, change the question from finding an angle to finding a condition: “A student divides the total by the number of sides. What must be known before that step is justified?” The useful answer concerns equal angles. The learner need not rush into more elaborate polygons to show deeper understanding of the method.
CHAPTER 5 OF 15 · Choose the measure
5. Name the quantity before selecting a formula
Perimeter, area and volume answer different questions. A formula becomes easier to choose when the student first explains what a measurement represents. Imagine preparing a display: edging goes around its boundary, a covering occupies its surface and a storage container holds three-dimensional space. The same dimensions can appear in several calculations, but the target changes.
| Question in the situation | Quantity | Expected type of unit |
|---|---|---|
| How much edging follows the outside? | Perimeter | cm or m |
| How much flat surface needs covering? | Area | cm² or m² |
| How much space does a solid occupy? | Volume | cm³ or m³ |
| How much material covers specified faces? | Surface area | cm² or m² |
Suppose a rectangular sign measures 16 cm by 9 cm. Its perimeter is 2 × (16 + 9) = 50 cm and its area is 16 × 9 = 144 cm². Both results are mathematically meaningful. Only the wording tells us whether either one answers the question being asked.
If a child reports 144 cm for edging, ask them to trace the edging with a finger. Multiplying the two lengths describes a tiled surface, while tracing follows a path. This physical distinction can reveal a mistaken choice of measure more clearly than asking the child to memorise the correct formula again.
The unit also acts as a check on meaning. Adding lengths produces a length; multiplying two perpendicular lengths can produce an area. However, a correct unit alone cannot prove that the selected dimensions are right. A triangle’s sloping side multiplied by its base still produces square units, but usually gives the wrong area.
The existing area, perimeter and volume guide is a useful reference for individual formulae. The examples that follow concentrate on selecting and checking the model.
CHAPTER 6 OF 15 · Choose the measure
6. Follow the actual boundary of a notched panel
Consider a rectangular display panel 18 cm wide and 12 cm high. A rectangular notch 4 cm wide and 5 cm deep is removed from the middle of its top edge. The notch is open to the top; it is not a separate hole enclosed inside the panel. We want both the area remaining and the length of its complete boundary.

The original area is 18 × 12 = 216 cm². The removed area is 4 × 5 = 20 cm². Therefore the remaining area is 196 cm². The subtraction works because the notch lies entirely within the original rectangular outline and the removed region is counted once.
The boundary needs a different argument. The original rectangle has perimeter 2 × (18 + 12) = 60 cm. Removing the notch takes away a 4 cm section of the top edge. The new boundary replaces it with a 5 cm downward edge, a 4 cm horizontal edge and a 5 cm upward edge. Thus the new perimeter is 60 − 4 + 5 + 4 + 5 = 70 cm.
Notice why “we removed a piece, so the perimeter must decrease” fails. Area records how much surface remains. Perimeter records the path around that surface. Removing a piece can create extra boundary. Ask the learner to trace the path before deciding whether a proposed answer is plausible.
Now move the same 4 cm by 5 cm removal to a corner. The remaining area is still 196 cm². This time two original boundary segments, 4 cm and 5 cm, are replaced by two new segments of those same lengths. The perimeter stays 60 cm. Equal removed areas do not guarantee equal resulting perimeters.
A useful independent follow-up is a 15 cm by 10 cm panel with a central top notch 3 cm wide and 2 cm deep. The remaining area is 144 cm² and the perimeter is 54 cm. Ask for an explanation of the extra 4 cm in the boundary, as well as the numerical answer.
CHAPTER 7 OF 15 · Choose the measure
7. Identify the height perpendicular to the chosen base
In area calculations, height is tied to a chosen base. It is the perpendicular distance to the opposite vertex or parallel side, depending on the shape. It is not automatically the longest side, the vertical side on the printed page or the sloping edge whose length happens to be labelled.
Take a parallelogram with base 9 cm, perpendicular height 4 cm and sloping side 5 cm. Its area is 9 × 4 = 36 cm². Multiplying 9 by 5 uses the sloping boundary instead of the perpendicular height. The 5 cm measurement can help find perimeter, which is 2 × (9 + 5) = 28 cm, but it has a different job.
A learner can explain the area relationship by imagining a triangular piece moved from one end of the parallelogram to the other. The pieces make a rectangle with the same 9 cm base and 4 cm height. Nothing is added or removed, so the area remains 36 cm². The explanation connects a formula to a conservation of surface.
For a triangle with that same base and perpendicular height, the area is half of 9 × 4, or 18 cm². Where the perpendicular meets the extended base outside an obtuse triangle, it can still represent the required height. The right-angle relationship matters more than whether the height line lies inside the triangle.
Try rotating a sketch and asking the child to locate the same base-height pair again. Then choose a different side as the base and ask which height would be needed. They may not have enough numerical information to calculate it, and recognising that is a valid response.
For a trapezium, identify both parallel sides and their perpendicular separation before substituting. If the parallel sides are 6 cm and 10 cm and the height is 3 cm, its area is half of (6 + 10) × 3 = 24 cm². A labelled sloping side should not displace that height.
CHAPTER 8 OF 15 · Choose the measure
8. Make unit conversions part of the reasoning
Mixed units should be resolved before combining dimensions. A rectangular surface 1.6 m long and 75 cm wide is not 1.6 × 75 square metres. Convert 75 cm to 0.75 m, giving an area of 1.2 m². Alternatively, convert 1.6 m to 160 cm and obtain 12,000 cm². The two calculations describe the same surface.
The conversion factor changes with the dimension being measured. One metre contains 100 centimetres, but a one-metre square contains 100 rows of 100 square centimetres. Therefore 1 m² = 10,000 cm². A one-metre cube contains 100 layers of 100 by 100 centimetre cubes, so 1 m³ = 1,000,000 cm³.
Ask the student to explain the extra factors instead of remembering a separate rule for every unit. The square and cube in the unit describe how many dimensions are being converted. This also explains why moving the decimal point by two places works for metres to centimetres but fails for square metres to square centimetres.
| Starting measurement | Calculation | Equivalent measurement |
|---|---|---|
| 0.85 m | 0.85 × 100 | 85 cm |
| 0.85 m² | 0.85 × 10,000 | 8,500 cm² |
| 0.004 m³ | 0.004 × 1,000,000 | 4,000 cm³ |
For capacity, 1,000 cm³ equals one litre, so the final volume in the table is four litres. Be clear whether dimensions describe the inside of a container or its outside. A real container’s wall thickness can matter; a school question may explicitly ask the learner to neglect it.
Finish with an estimate. A surface a little longer than one metre and less than one metre wide having an area of 120 m² should prompt a check. An estimate does not replace exact working, but it can expose a conversion error before the final answer is accepted.
Surface area questions require a decision about faces. A closed box, an open tray and a box with only its side walls painted are different models. Reading “cuboid” does not by itself establish which surfaces the question wants counted. Have the child name the included faces before writing a formula.
Consider an open rectangular storage tray with internal length 14 cm, width 10 cm and height 6 cm. For this mathematical model, neglect the thickness of its material. Its capacity is 14 × 10 × 6 = 840 cm³. That measures the space inside; it does not give the area of material used for the tray.
The tray has one base of area 14 × 10 = 140 cm², two long side walls each of area 14 × 6 = 84 cm² and two shorter walls each of area 10 × 6 = 60 cm². The total material area, without a lid or joining tabs, is 140 + 2 × 84 + 2 × 60 = 428 cm².
A student using the closed-cuboid surface-area formula would obtain 568 cm². Ask them to identify the extra 140 cm². It is a second large face representing a lid. This question locates the modelling error directly; the multiplication may have been entirely correct.
Now change the task to painting the four outside walls only. Under the same negligible-thickness model, their area is 288 cm². The base no longer belongs in the requested total. The difference is a change in the task, not a change in the dimensions.
A simple paper net can support the explanation, but a student should also be able to list face dimensions without one. Check that repeated faces are counted the right number of times. If a real design includes tabs, overlap or material thickness, acknowledge those extra conditions rather than quietly treating the idealised result as a complete manufacturing specification.
Joining solids is a useful way to separate volume reasoning from surface-area reasoning. If two solid blocks do not overlap, their volumes add. If faces are joined, some surfaces become internal and are no longer part of the exposed outside. A drawing or a clearly described join is therefore essential.
Block A measures 8 cm by 4 cm by 3 cm. Block B measures 4 cm by 4 cm by 3 cm. Join them flush along matching 4 cm by 3 cm faces, extending the first dimension to make a 12 cm by 4 cm by 3 cm cuboid. Assume no gaps or overlapping material.
The separate volumes are 8 × 4 × 3 = 96 cm³ and 4 × 4 × 3 = 48 cm³. Together they occupy 144 cm³. Check with the dimensions of the joined cuboid: 12 × 4 × 3 also gives 144 cm³. Agreement between two valid methods is useful evidence that the model has been read correctly.
Block A’s surface area is 2 × (32 + 24 + 12) = 136 cm². Block B’s is 2 × (16 + 12 + 12) = 80 cm². Adding them gives 216 cm², but includes both touching faces. Each has area 4 × 3 = 12 cm², so the exposed surface area is 216 − 24 = 192 cm².
Why subtract the shared area twice? Before joining, each block contributed its own face to the separate surface-area total. After joining, neither face is exposed. Subtracting only 12 cm² removes just one of those contributions and leaves the other incorrectly counted.
For a changed question, ask what happens if the blocks merely stand apart. Their total volume remains 144 cm³, while their combined external surface area returns to 216 cm². This contrast tests whether the child understands what the joining operation changes.
CHAPTER 11 OF 15 · Check the model
11. Use estimates and exact values without losing the target
Circle questions provide a useful check on radius, diameter and the quantity requested. Use them when they are part of the current school topic. A circular mat has diameter 1.4 m, so its radius is 0.7 m. The area is π × 0.7² = 0.49π m², while the circumference is π × 1.4 = 1.4π m.
Those are exact expressions. If the question requests a decimal approximation, follow its instruction for π and accuracy, or the school’s stated convention. Using the calculator’s π value gives approximately 1.54 m² for area and 4.40 m for circumference when rounded to two decimal places. These displayed approximations illustrate a choice; they are not a universal Secondary 1 rounding rule.
If the student uses 1.4 as the radius, the area becomes 1.96π m², four times the correct area. Ask why the error is fourfold rather than twofold. The radius is squared, so doubling it introduces a factor of two in each of two dimensions.
There is a useful visual estimate: the circle fits inside a square whose side is its diameter. That square has area 1.96 m². The circle’s area should be smaller. An answer above six square metres would fail this check immediately, even before the exact calculation is repeated.
Students also need to preserve precision in longer calculations. Keep an exact expression or sufficient calculator digits until the final step, then round as instructed. Writing an approximation sign where appropriate reminds the learner that a rounded number is not the same object as the exact result.
Where a question supplies an approximate real-world dimension, discuss what the answer means in that model. Mathematical working can be exact relative to the supplied numbers without claiming that a physical object was measured with unlimited accuracy.
CHAPTER 12 OF 15 · Try and explain
12. Try a short independent geometry and measurement clinic
Choose only tasks the student has been taught. Let the learner work without seeing the answers, then compare their reasons as well as the results. A brief set can reveal more than a long copied correction when each question tests a different decision.
- A straight angle is divided into two adjacent angles. One is 143 degrees. Find the other and state the reason.
- An isosceles triangle has equal sides meeting at a 52-degree vertex angle. Find each base angle.
- A parallelogram has base 11 cm, perpendicular height 6 cm and sloping side 7 cm. Find its area and perimeter.
- A rectangle measures 80 cm by 1.25 m. Find its area in square metres.
- An open box has base 9 cm by 7 cm and height 4 cm. Neglect thickness and joining tabs. Find the material area needed for its base and four walls.
Question 1: 180 − 143 = 37 degrees because the two adjacent angles form a straight angle. An answer of 217 degrees would describe subtraction from a full turn, which is not the stated relationship.
Question 2: the base angles are equal, and together total 180 − 52 = 128 degrees. Each is 64 degrees. The equality of the two sides justifies dividing by two.
Question 3: area = 11 × 6 = 66 cm². Perimeter = 2 × (11 + 7) = 36 cm. The perpendicular height belongs to the area calculation; the sloping boundary belongs to the perimeter calculation.
Question 4: 80 cm = 0.8 m, so area = 0.8 × 1.25 = 1 m². A second route gives 80 × 125 = 10,000 cm², which converts to the same result.
Question 5: base area is 63 cm², the two longer walls total 72 cm² and the two shorter walls total 56 cm². The required material area is 191 cm². A closed-box answer would include an additional 63 cm² lid.
After discussing an error, change its underlying condition. Give a scalene triangle instead of an isosceles triangle, ask for walls only instead of the whole open box, or rotate the parallelogram. The next attempt should show whether the learner can select the method again. Record the help needed, including prompts that seem small to an adult.
CHAPTER 13 OF 15 · Try and explain
13. Distinguish measuring, constructing and proving
Geometry tasks do not all ask for the same kind of evidence. Measuring an angle with a protractor estimates its size from a drawing. Constructing a figure follows specified conditions with the allowed instruments. Proving or calculating a relationship uses given facts and mathematical properties. Identify which task the question requires.
If a diagram is not drawn to scale, measuring it cannot replace an angle calculation. A learner who obtains about 90 degrees with a protractor has not established a right angle unless the task permits that measurement as evidence. Conversely, a question asking the child to draw a 72-degree angle requires careful instrument use, not only a sentence about angle facts.
For a protractor task, check that the centre sits on the vertex and the baseline follows the chosen ray. Then identify the scale that begins at zero on that ray. Reading the other scale is a common way to draw an obtuse angle when an acute one was intended. Ask the student to estimate the expected size before making the mark.
For a construction with a ruler and compasses, retain the relevant construction arcs if the school asks for them. They help show how the required points were located. A neat final outline alone may hide whether the learner used the stated conditions or guessed the shape.
Parents need not turn every homework check into a precision contest. Look first for the correct setup and method. If a child’s mathematical reasoning is sound but instrument placement is unreliable, a short focused practice is more useful than restarting the entire topic. Ask the teacher about the instruments and level of accuracy expected in the current assignment.
CHAPTER 14 OF 15 · Choose support
14. Make a three-student lesson reveal three sets of thinking
A small group is useful when the tutor can see what each student understands. Three learners should not become one combined voice answering the easiest questions. Begin with individual attempts so that a confident student cannot unintentionally supply the method for everyone else.
Imagine three students working on the notched panel. One subtracts the correct area but ignores the notch in the perimeter. Another traces the boundary correctly but converts square centimetres using a length factor. A third reaches both correct results but cannot explain why moving the notch to a corner changes the perimeter outcome.
These students need related but different feedback. The first can trace and label each boundary segment. The second can build the square-unit conversion from a one-metre square. The third can compare two outlines with the same removed area. Giving each learner the same answer sheet would conceal those differences.
A useful discussion then brings the explanations together. One student describes the measure, another checks the dimensions and a third challenges a condition. Rotate those roles so the learner who usually checks arithmetic also has to explain a geometric relationship. Every student should subsequently complete a new individual question.
Ask the tutor what evidence will be reviewed after an agreed period of support. A useful record might show a first attempt, one specific teaching focus and a later unfamiliar task. “Completed twenty questions” describes activity. “Selected the perpendicular height without a prompt in a rotated figure” describes a change in understanding.
The word problems and equations guide can help when the remaining difficulty is translating a geometric relationship into algebra. Choose that route when the evidence points to it, rather than adding unrelated topics to an already full week.
Before arranging tuition, collect a recent marked question, the student’s unedited working and the school’s topic information. These are enough to begin a focused conversation. You do not need to describe the child as “weak in Mathematics” when the actual difficulty may be selecting a height, tracking exposed faces or explaining one angle condition.
Ask what the tutor would teach first and how they would tell whether it helped. A concrete response should refer to the work you supplied. If the answer is a broad promise to cover everything, ask for one example of the student’s next task and the kind of feedback they would receive.
Consider available school help alongside tuition. A question clarified by the school teacher, a short practice with a worked example or a small amount of guided revision may be enough for a narrow gap. Additional lessons become more useful when the difficulty persists and the learner needs regular, targeted explanation.
At home, use a manageable routine: one independent attempt, a short discussion and a changed question on another day. Let the child name the quantity, select the given facts and estimate the answer before you intervene. Stop when the agreed task is complete. The aim is for help to become less necessary as the learner takes over those decisions.
For a Bukit Timah arrangement, factor in the journey from school, CCA commitments and the actual suitability of the group. Use eduKate’s contact page to confirm current details. Group size, timetable and fees should be clear before enrolment; no particular result or subject-level change can be promised.
A helpful next step is small enough to observe: the student reads a new diagram, chooses the correct measure, explains the method and checks the unit with fewer prompts. That gives both parent and tutor a practical basis for deciding what to continue, adjust or stop.
Official sources and further reading
Curriculum and school references checked on 16 November 2026. The worked problems, learner cases and home routines in this guide are original teaching illustrations. Use the student’s current school instructions for assessed scope, permitted instruments and required accuracy.