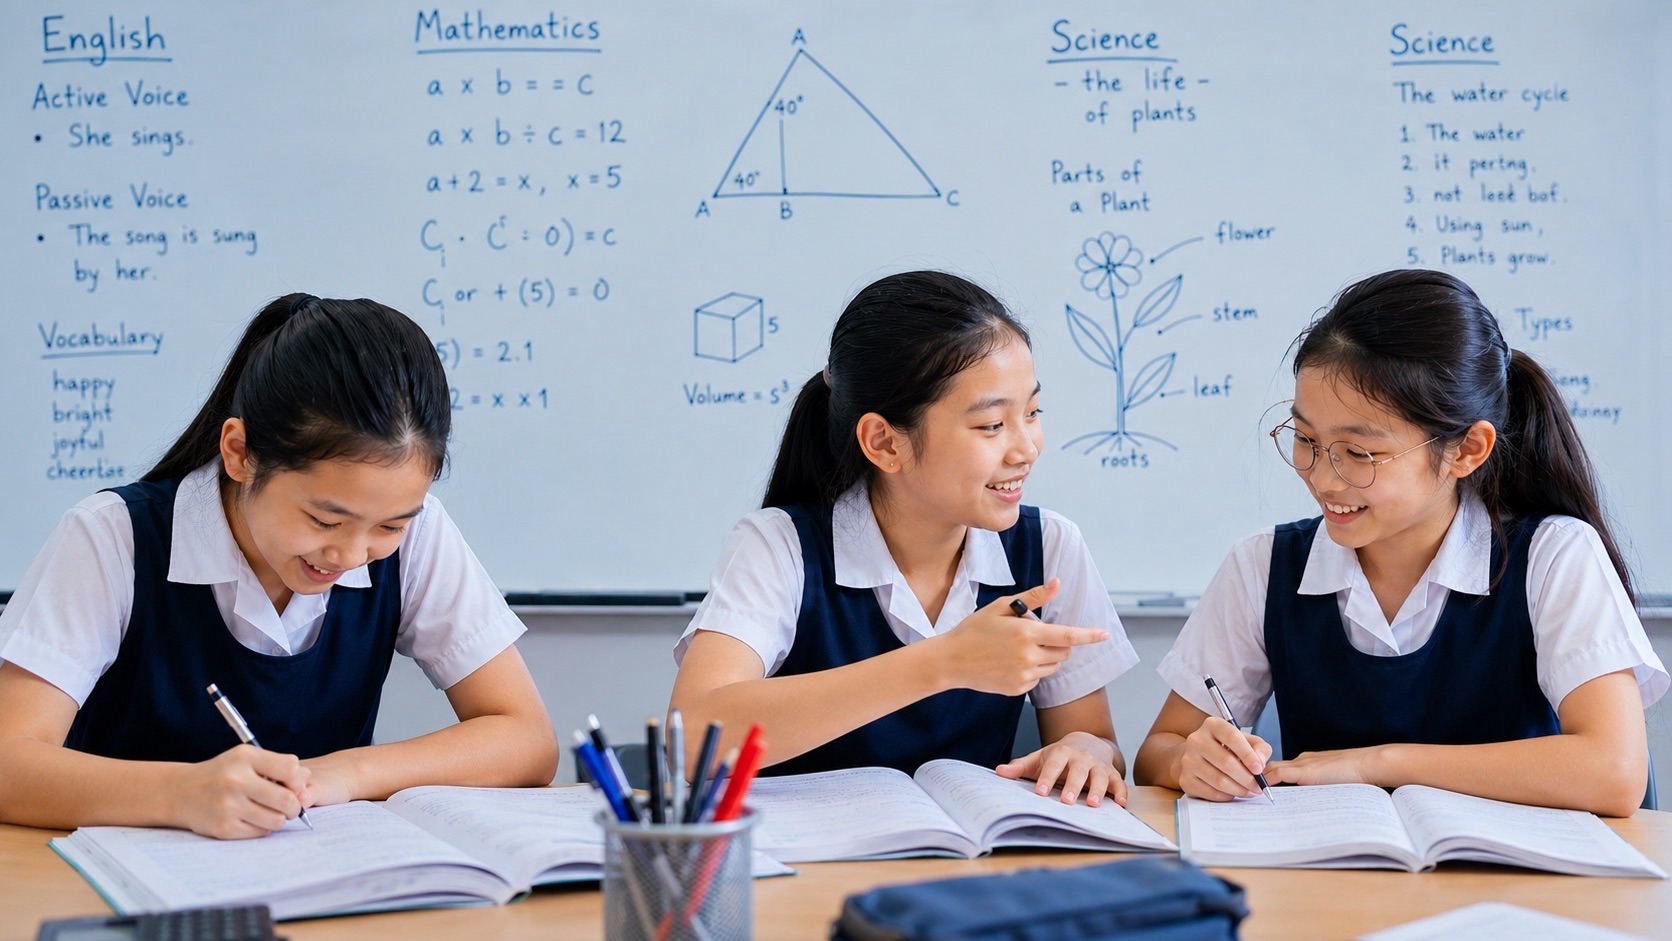
Primary 3 Science small groups tuition in Bukit Timah should help children understand living and non-living things, materials, life cycles and magnets, while learning to support answers with observations. In a three-pupil tutorial, each child should have time to predict, explain, attempt a task and correct a misunderstanding. The aim is a usable Science foundation, not early drilling for a national examination that Primary 3 pupils do not take.
Start with the child’s current school unit and recent work. A pupil who cannot interpret a diagram needs different help from one who understands the diagram but lacks the scientific idea. This guide follows the MOE Primary 3 topic map and provides original teaching illustrations for families. Confirm the actual teacher, class availability, venue, timetable and fees before enrolling; an educational article does not establish that a particular lesson slot is available.
- Primary 3 scope: living and non-living things, materials, plant and animal life cycles, and magnets.
- Thinking skills: observe, compare, classify, record, infer and explain using relevant evidence.
- Three-pupil teaching: independent attempts followed by discussion and individual feedback.
- School assessment: follow the school’s current arrangements; there is no separate national Primary 3 SEAB examination.
- Home learning: safe observations and short conversations rather than compulsory advanced worksheets.
- Parent decision: identify a real need, choose a manageable arrangement and review evidence of independence.
What belongs in the Primary 3 Science programme
The MOE 2023 Primary Science Teaching and Learning Syllabus identifies four Primary 3 areas: diversity of living and non-living things, diversity of materials, plant and animal life cycles, and magnets. Scientific practices and attitudes accompany the content. A programme that mentions only classification and materials is therefore an incomplete overview of the year’s topic map.
Schools decide how to organise their lessons and activities within the curriculum. Parents should check the current school unit rather than assume that every class teaches the same chapter in the same week. A tutor can revisit a prerequisite when needed without turning the lesson into an unrelated upper-primary revision course.
Ask what an activity is supposed to reveal. Sorting objects may teach classification; testing a material may teach a property; comparing results may teach evidence-based explanation. The same set of objects can serve different purposes. A clear learning target helps the adult select a suitable question and helps the child understand what has been learned.
Begin with the child’s explanation, not a label
Choose one recent question and ask the pupil to explain what it asks. Listen before correcting. A hesitant response can reflect unfamiliar wording, uncertainty about the topic, difficulty interpreting the picture or simply a need for more thinking time. Those possibilities should be investigated rather than collapsed into a label such as weak in Science.
A useful introductory task might show a magnet near two objects and ask the child to predict what happens. Ask why the learner chose that prediction. A correct answer based on appearance alone is less secure than an explanation linked to the relevant material. An incorrect answer can still reveal useful reasoning that the tutor can develop.
Record what happens after a small prompt. If asking the child to read the material labels changes the answer, the obstacle may be interpretation. If the child still assumes all metals are attracted, the concept needs attention. Good diagnosis makes the next lesson more precise and reduces the temptation to prescribe more of the same worksheet automatically.
Living and non-living things: do not use movement as the only test
A moving toy car and a stationary plant make a useful contrast. The toy can move without being a living thing; a plant does not need to walk around to be alive. Ask the child which characteristics are relevant and whether one visible action is enough to settle the classification.
Use the characteristics taught in school to build a fuller explanation. Children should consider the nature of the thing rather than one dramatic feature. A pupil who says “it moves, therefore it is alive” needs examples that challenge that rule. The adult can guide the discussion without demanding an advanced biological definition.
Also distinguish a living organism from an object made from material that came from an organism. A wooden spoon is not living now merely because its material came from a tree. Follow the wording and categories in the school task when discussing once-living materials. The important habit is to inspect the current object and the question, not answer from one associated word.
Classification needs a stated rule
Give the child pictures of several familiar objects and ask for two groups. More than one sensible grouping may be possible. Objects could be grouped by material, by whether they are living, or by a visible characteristic. The pupil should state the rule so another person can apply it consistently.
For an original example, sort a wooden ruler, a metal spoon, a plastic ruler and a metal key. Grouping by material gives one arrangement; grouping rulers separately from other objects gives another. Neither arrangement should be marked wrong simply because it differs from the adult’s first idea. Judge it against the stated criterion and the task.
Then provide a new object and ask where it belongs. This tests whether the rule works beyond the original collection. If the child cannot place it, the grouping rule may be unclear or incomplete. That is useful information: classification is not just making two piles but using a property to organise examples consistently.
Use more than one feature when identifying groups of animals
A child may associate flying with birds and overlook that insects and bats can also fly. Use contrasting examples to show why one shared action does not define a group. The lesson should focus on the characteristics required in the school programme rather than asking children to memorise a large catalogue of animals.
An original picture task can show a bird and a butterfly. Ask what they have in common and what visible differences the drawings provide. Both can have wings, but the features used to classify them differ. The pupil should identify evidence rather than rely on the general impression that both fly.
Be careful about what a picture cannot show. A small illustration may not provide enough detail to count legs or identify a body covering reliably. A responsible answer can say which extra information is needed. Teaching children not to invent invisible features is as useful as teaching the features themselves.
Materials: distinguish the object from what it is made of
A spoon is an object; metal, wood and plastic are possible materials used to make it. Children can confuse the two when a question asks for a material’s property. Begin by placing the object name and the material name in separate sentences. This creates a clearer basis for explaining why a particular material suits a purpose.
Compare two objects made from the same material and two similar objects made from different materials. For example, a plastic ruler and a plastic container have different uses, while a wooden ruler and a plastic ruler share a purpose. Ask which comparison would help investigate the effect of the material rather than the object category.
The child should not assume that every object with the same everyday material label has identical properties. Thickness, shape and construction can affect how an object behaves in a test. Use the information supplied in a question and avoid claiming more than the test supports. This prepares pupils to interpret unfamiliar examples without guessing from the object’s name.
Choose a material by linking a property to a purpose
Consider a hypothetical cover intended to keep a notebook dry. Ask which property matters most for that purpose. The explanation should connect resistance to water passing through with protecting the notebook. “It is strong” might be useful for another design requirement, but does not by itself explain why the cover keeps water out.
A second task could ask for a material suitable for a cloth used to soak up a spill. Now absorbency becomes helpful rather than undesirable. Comparing the two tasks shows that the best material depends on the intended use. A property is not automatically good or bad in every situation.
Ask the child to complete a short explanation in their own words: “I would choose this because its property helps it do this job.” Then remove the sentence frame for a fresh example. The frame is a temporary organising aid, not a sentence that must be reproduced mechanically in every Science answer.
Design a fair comparison of absorbency
An adult-led investigation can compare suitable paper samples using equal-sized pieces, a consistent amount of water and the same observation period. Ask what is changed, what is measured and which conditions should be kept as similar as possible. Where the paper types also differ in thickness or layering, acknowledge that limitation rather than claim a perfectly isolated test.
Decide in advance what counts as evidence. The appearance of a wet patch alone may not provide the same information as the amount of liquid absorbed. A child should know what the recorded quantity represents. Keep materials safe, use small amounts of water and protect the work surface.
For a written alternative, provide a simple setup and ask why using a much larger sample of one paper could make the comparison unfair. The learner should explain how the extra size introduces another difference. “Keep it fair” is a useful intention, but the answer becomes scientific when it names the relevant condition and its effect on interpretation.
Record observations before deciding what they mean
Suppose one paper sample leaves less water on a tray than another. That is a result to describe. An explanation about absorbency must also consider how the investigation was arranged. If one sample was pressed more firmly or left for longer, the result may not support a simple conclusion about the paper type alone.
A tutor can use an observation table with headings for the sample, the test condition and the measured result. Ask the pupil to enter what was actually observed, not what was predicted. When the observation differs from the prediction, the table should still record the observation honestly.
This is an important classroom habit. Science does not require children to make every result match the adult’s expectation. It requires them to notice, record and examine what happened. A surprising result can lead to checking the method, repeating an observation or reconsidering an explanation.
Life cycles: follow change over time
A life-cycle diagram represents changes and continuation across generations, not merely a row of unrelated pictures. Begin with an example used in school and ask what each stage shows. The pupil should explain the order and the meaning of the arrows before being asked to reproduce every label from memory.
For an original card activity, provide stages of a familiar animal’s life cycle in a mixed order. Ask the child to arrange them and explain two neighbouring stages. If the arrangement is correct but the explanation is missing, the pupil may recognise the picture sequence without understanding the change it represents.
Next, remove one card and ask what is missing and why it belongs there. Do not tell the child that every animal has the same number or names of stages. The particular organism and the level of detail used in the diagram matter. Read the question rather than applying one memorised sequence to every living thing.
Compare animal life cycles without forcing them into one pattern
A butterfly life-cycle diagram commonly distinguishes egg, larva, pupa and adult. A grasshopper diagram commonly shows egg, nymph and adult. Ask the pupil which stage appears in one representation but not the other and how the young form relates to the adult. Use accurate diagrams with labels appropriate to the school’s lesson.
The teaching value lies in the comparison. A child who adds a pupa stage to every insect’s life cycle is applying a familiar example too broadly. Place two diagrams side by side and ask for one supported similarity and one supported difference. The response should refer to the organisms or stages being compared.
Do not treat a classroom diagram as a reason to handle unfamiliar animals or disturb their habitats. Pictures, videos selected by the school and respectful observation can provide enough evidence. Children should learn to investigate living things carefully, not collect or harm them simply to complete a worksheet.
Plant life cycles: distinguish growth from producing a new generation
For a seed-producing plant example, trace the changes from seed to young plant to mature plant, then the production of seeds that can begin another cycle. Ask the child which change concerns the same plant growing and which part concerns the continuation of the life cycle through a new generation.
A useful task shows several drawings of the same plant over time. The pupil can describe changes in size and visible structures. Then show a life-cycle diagram and discuss why it includes seeds again. This helps separate a simple growth record from the broader cycle.
Keep detailed reproduction processes within the appropriate teaching scope. A Primary 3 life-cycle lesson should not quietly become a compulsory Primary 5 reproduction lesson. A curious question can be answered simply, but parents should not interpret the absence of advanced terminology as evidence that the child is behind the Primary 3 syllabus.
Read diagrams from labels and arrows, not familiar layouts
Children may memorise that a particular life-cycle stage sits at the top of a page. Redraw the same cycle with a different starting position and ask whether its meaning has changed. The pupil should use arrows and stage relationships rather than the position of a picture.
A diagram-reading routine can begin with the title, then the labels, then the arrows. Ask what each arrow means in that particular representation. Some diagrams show a sequence; others show a force or a comparison. Do not assume an arrow has the same meaning in every Science question.
When a question refers to labels A and B, use those labels accurately in the answer. A child may know the scientific idea yet discuss the wrong stage because the labels were copied from a previous question. A short pause to match the answer to the supplied diagram can prevent that avoidable error.
Magnets: distinguish an object, its material and a magnet
A magnet can attract suitable magnetic materials, but not every metal object is attracted. An iron object and an aluminium object provide a useful contrast when suitable classroom materials are available. The child should base the conclusion on the material and observation, not the assumption that shiny objects all behave alike.
Also distinguish a material attracted by a magnet from an object that is itself a magnet. Attraction alone does not settle that distinction: a magnet can attract an ordinary iron object. Ask the pupil what the observed result establishes and what remains uncertain.
Use appropriate, intact classroom magnets under adult supervision. Avoid loose small magnetic balls and other swallowing hazards. Keep magnets away from electronic devices and follow the equipment’s safety instructions. Diagrams and supervised demonstrations are sufficient; a home lesson does not require collecting unknown metal objects or dismantling equipment.
Magnetic force can act without direct contact
In a supervised demonstration, bring a suitable magnet near a small steel object placed on a clear surface without touching it. Ask the child to describe the movement and whether contact occurred first. The observation can illustrate that magnetic interaction does not require the two objects to touch.
For a paper-based question, show a small gap between the magnet and object. A pupil who says there can be no effect because they are not touching is applying a contact-only rule. Return to the observation and ask which part of that rule the demonstration challenges.
Be precise about the claim. The demonstration does not show that a magnet can attract every object from any distance. The tested material, magnet and arrangement matter. Teach the supported relationship without turning it into a universal statement that the evidence cannot justify.
Attraction and repulsion: use the pole labels
Two magnets can attract or repel depending on the poles brought together. Use clearly labelled magnets or diagrams and ask the pupil to identify the facing poles before predicting the interaction. The important relationship concerns the poles, not whether the magnets are drawn on the left or right.
An original contrast pair can show north facing south in one diagram and north facing north in another. Ask what changed and why the predicted interaction changes. Rotate one magnet in a follow-up picture and let the child determine the new facing poles rather than repeat the previous answer.
Repulsion can provide useful evidence when investigating whether an object is a magnet, but the exact setup must be understood. Do not replace reasoning with a slogan. Ask the pupil to identify which observation occurred and what conclusion follows under the stated conditions.
Compare magnets using a controlled method
A classroom comparison might examine how many identical paper clips different magnets can hold under the same method. Before accepting a result, ask which conditions need consistency: the type of clips, the way they are attached and the procedure used to test each magnet. A larger magnet should not automatically be declared stronger from its appearance alone.
Use invented results for a discussion: magnet A holds six identical clips and magnet B holds nine under the stated method. The child can report that B holds more in that test. If the clips or method differ, the comparison becomes less dependable. The explanation should identify the relevant difference, not merely say that the experiment is unfair.
Repeating the observation can help check whether the result is consistent. A beginner does not need advanced statistics to understand why one accidental result might be misleading. The tutor can ask what should be checked again and how the next trial should be kept comparable.
Write an answer that addresses the question
“State,” “compare” and “explain” ask for different responses. A statement may report an observation. A comparison should address both items using a common feature. An explanation should connect the relevant observation to an appropriate scientific idea. The child should read the instruction before deciding how much to write.
For a material-selection question, “This material is waterproof” names a useful property, but the answer may also need to connect that property to the intended use. For a magnet question, “It is metal” is not a sufficient explanation when the task concerns which materials are attracted. Precision matters more than adding unrelated sentences.
A tutor can compare two short answers and ask which one is better supported. Avoid claiming that a fixed phrase or a set number of sentences always earns marks. The correct level of detail depends on the actual question and the school’s feedback.
Correct an idea, not just the sentence on the page
When a pupil writes that every metal is attracted to a magnet, copying the corrected answer once is not enough to demonstrate a changed idea. Present a new set of materials or a different diagram and ask for a fresh prediction with reasons. The follow-up should test the same relationship without revealing the old answer.
Keep the feedback narrow. “You used shininess as your test for magnetic material” tells the learner what to reconsider. “Be more careful” does not. The child can then explain which evidence should replace the unreliable cue.
A small correction record might contain the original misconception, the improved explanation and one later independent attempt. The purpose is to guide teaching and show progress. It should not become a notebook of repeated copied paragraphs or a reason to shame the child for revealing confusion.
Make the three-student model visible in the lesson
Ask each pupil to make an individual prediction before group discussion. Then compare the reasons. One child might rely on an observable feature, another on an earlier experiment and a third on an unsupported assumption. The tutor can use these differences productively only if every learner’s thinking is heard.
A shared task can still have different follow-ups. A child struggling with vocabulary may receive a labelled picture; another may need a demonstration; a third may be ready to question whether the evidence is sufficient. The learning objective should remain coherent rather than splitting the group into unrelated worksheets with little teaching.
Finish with a short independent response. Parents can ask what each child could do alone after the discussion and which prompt remained necessary. This is stronger evidence of individual attention than a claim that small classes automatically produce better grades.
Use school assessment as feedback, not a permanent label
MOE’s assessment information explains the removal of mid-year examinations. Primary 3 families should still consult current school notices for the actual school-based assessment arrangements. No national Primary 3 SEAB examination is created by a tuition provider’s diagnostic or commercial workbook.
Review a completed task by asking what each error reveals. A missing observation, a misread diagram and an incorrect concept require different next steps. One overall mark does not explain which support will help. Look at the child’s working and the teacher’s feedback before deciding to increase tuition hours.
For home practice, choose one manageable conversation or safe observation connected to the current unit. Ask what was noticed and what evidence supports the explanation. Keep the activity brief enough that the child remains willing to think. Schoolwork, rest, play and family time all need space in a sustainable routine.
Understand the 2026–2027 academic-strengths update accurately
MOE’s 2026 Committee of Supply announcements identify the 2026 Primary 3 cohort as the first to undergo the refreshed identification process. From 2027, the announced support includes school-based provisions and optional advanced modules in English, Mathematics or Science at designated centres for pupils assessed to benefit. Schools can also use supplementary evidence and identify pupils later in Primary 4 and 5.
This is a separate policy reference from the ordinary Science teaching syllabus. Families should use school communications for their child’s eligibility and arrangements. A tuition class cannot guarantee selection, and participation should not be treated as a verdict on a child’s potential or the quality of their ordinary classroom learning.
For a child who needs more challenge, ask for deeper observation, a better-controlled comparison or an alternative explanation before simply advancing several school years. For a child who needs consolidation, strengthen the current concept without suggesting that enrichment eligibility is the immediate goal of every lesson.
Choose support with a clear review point
Before enrolling, describe one priority in observable terms. Examples include using a classification rule consistently, comparing two life cycles or explaining why a material suits a use. Ask the tutor how the first lesson will establish a baseline and how later work will show whether the child is becoming more independent.
Confirm the real venue, teacher, three-pupil group, lesson length, fees, materials charges and absence arrangements. Consider travel from school or home and the child’s energy at the proposed time. A location name in an article does not replace these checks, and no single weekday or weekend arrangement suits every family.
At the review, compare a fresh task with the baseline and discuss the child’s experience of the lessons. Continue when there is a clear learning benefit. Adjust when the method or schedule is not working. Where school support and ordinary home learning are sufficient, not adding tuition can be the sensible choice.
Official references and the next step
Use the MOE Primary Science syllabus for curriculum scope, MOE assessment information for the wider assessment context, and MOE’s 2026 announcements for the academic-strengths update. This is independent parent guidance, not an official government publication. Its activities and sample data are original illustrations.
Bring two pieces of recent work to a discussion and ask the child to explain one answer. Use that evidence to choose the next learning target. The right support should make Science more understandable and the child more capable of investigating and explaining, not merely more occupied.